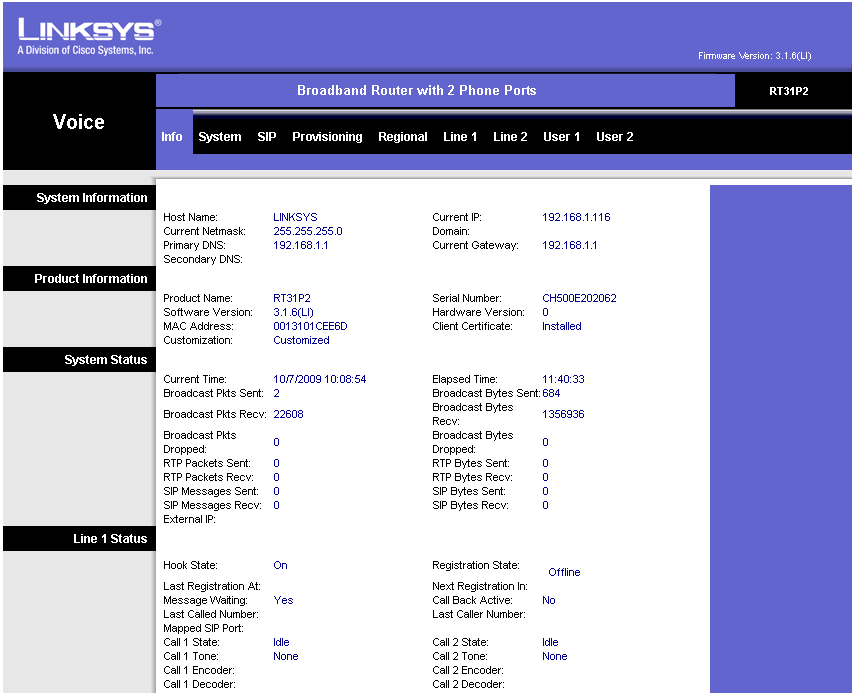
Plug in the router (power, a computer to one of the Ethernet ports, the modem to the WAN port and a phone into Line 1). Wait about 60 seconds then open a browser and enter the address http://192.168.15.1/Voice_adminPage.htm. The default username is admin and the password is admin.
First, we'll adjust some of the SIP parameters, so click the SIP submenu.
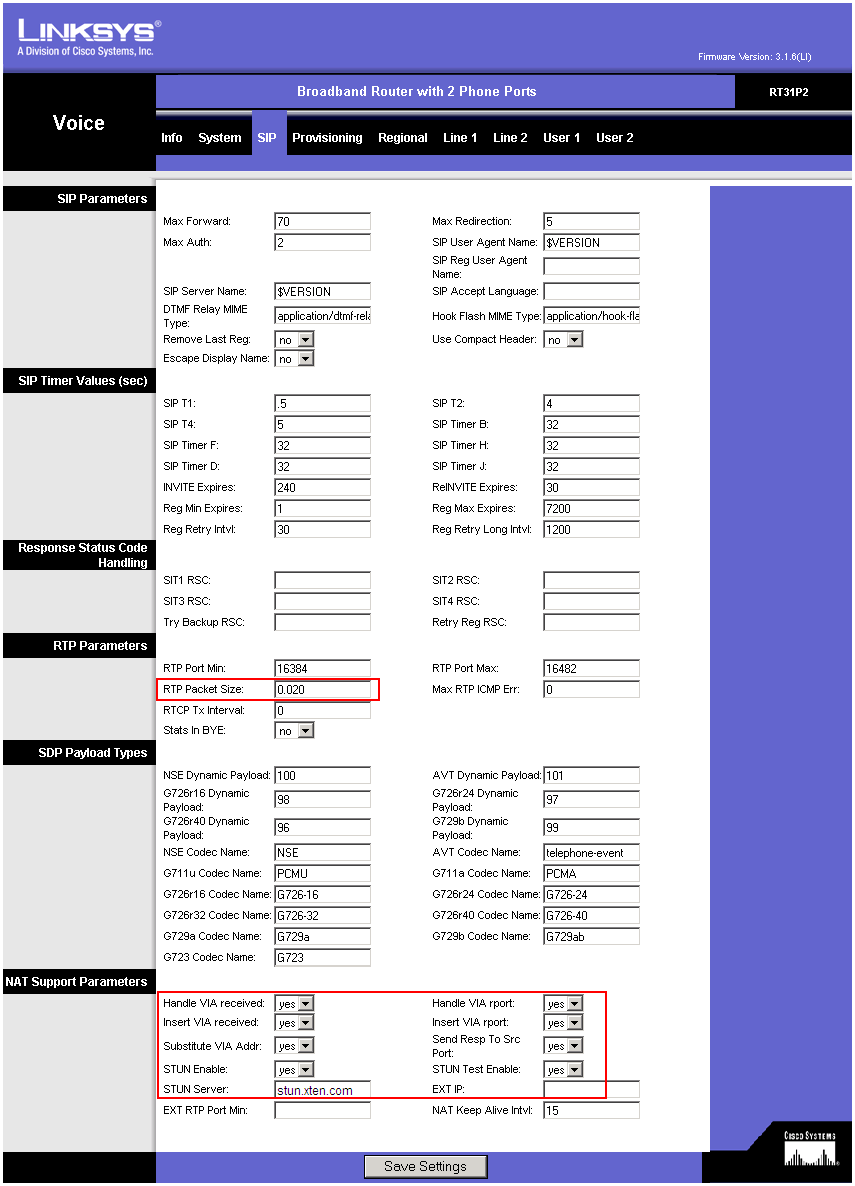
Change the following parameters:
(in the middle of the page)
- RTP Packet Size: 0.020
(at the bottom of the page):
- Handle VIA received: Yes
- Handle VIA rport: Yes
- Insert VIA received: Yes
- Insert VIA rport: Yes
- Insert VIA rport: Yes
- Substitute VIA Addr: Yes
- STUN Enable: Yes
- STUN Server: stunserver.org
Now click the Line 1 submenu
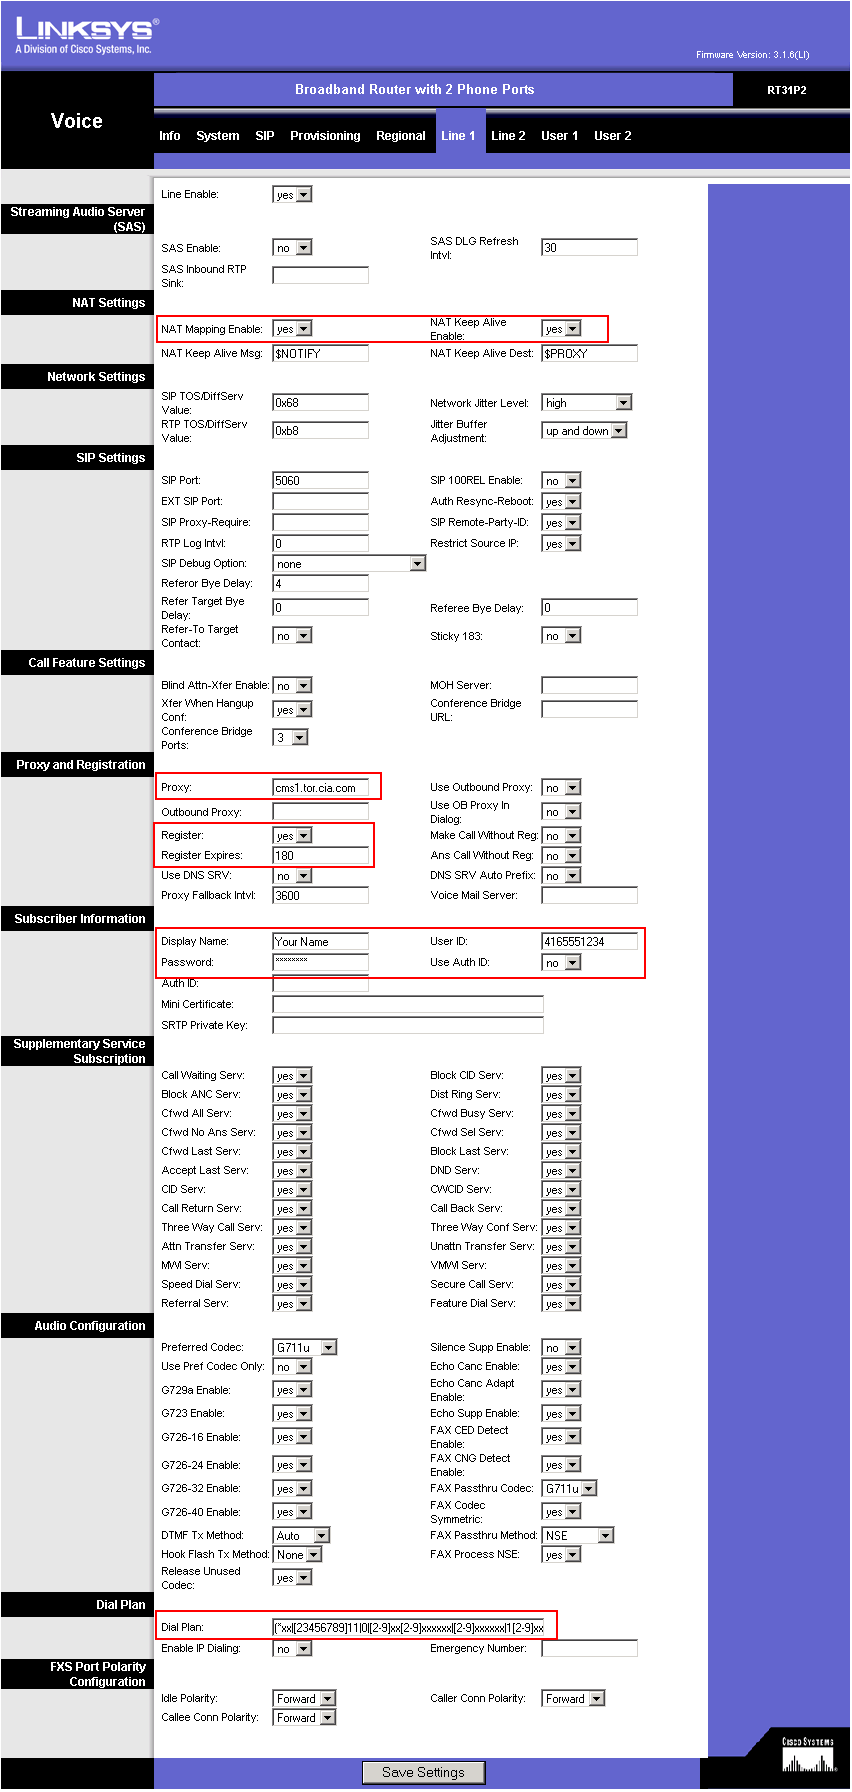
Enter the following settings:
(at the top of the page)
- NAT Mapping Enable: yes
- NAT Keep Alive Enable: yes
(about half way down on the page)
- Proxy: the SIP server (the value found under Proxy_1_ in the configuration file from CIA)
- Register: yes
- Register Expires: 180
- Display Name: enter your name here
- User ID: this is your phone number, as found under User_ID_1_ in the configuration file
- Password: the SIP password from (found in the configuration file, under Password_1_)
- Dial Plan: use the following string (including parentheses)
(*xx|[23456789]11|0|[2-9]xx[2-9]xxxxxx|[2-9]xxxxxx|1[2-9]xx[2-9]xxxxxxS0|011xxxxxxxxxxxx.)
That is all, click Save Settings at the bottom to save all the changes. The adapter will reboot and after 2-3 minutes you should get dial tone and should be able to place and receive calls.