Before you configure the router, you will need an e-mail from Acanac with your account settings. They usually send it to you 2-3 days after you open your account and it will have a subject like "Your Soft Phone order at Acanac is ready". In the e-mail you will find your phone number, the password and the domain (the SIP server).
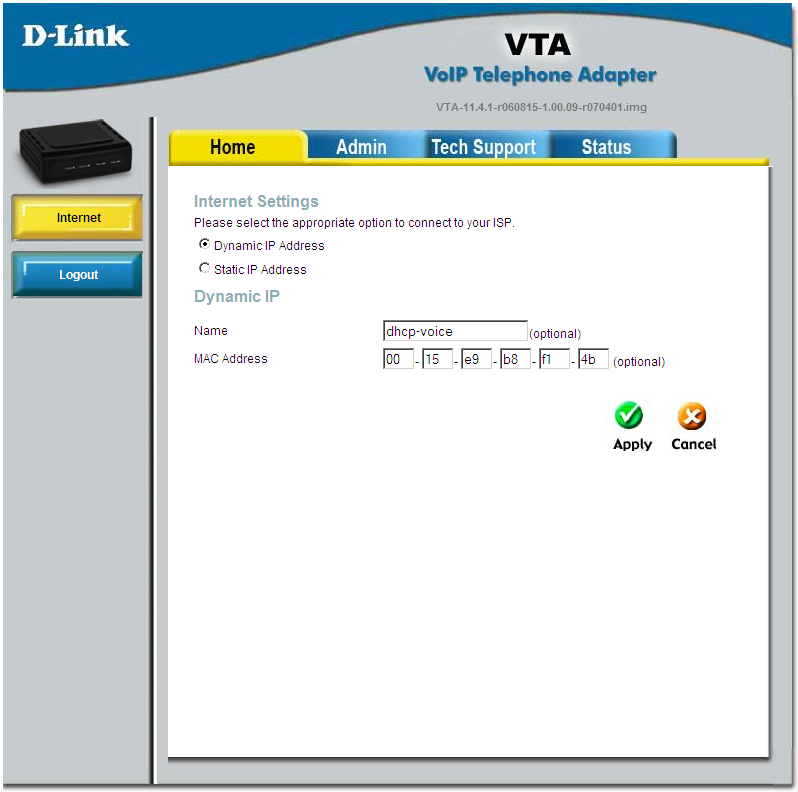
Connect all the cables: power cord, an Ethernet cable to your router and a phone into the green Phone 1 port. Wait about a minute for the router to power up, then check your router's DHCP table to find the IP address assigned to the ATA (see some samples for different router brands here). Put that IP address in a browser and login with username Admin and blank password.
Click Admin on the top menu, then VoIP on the left

The first tab, SIP is very unlikely to need any changes. Please click on Line 1
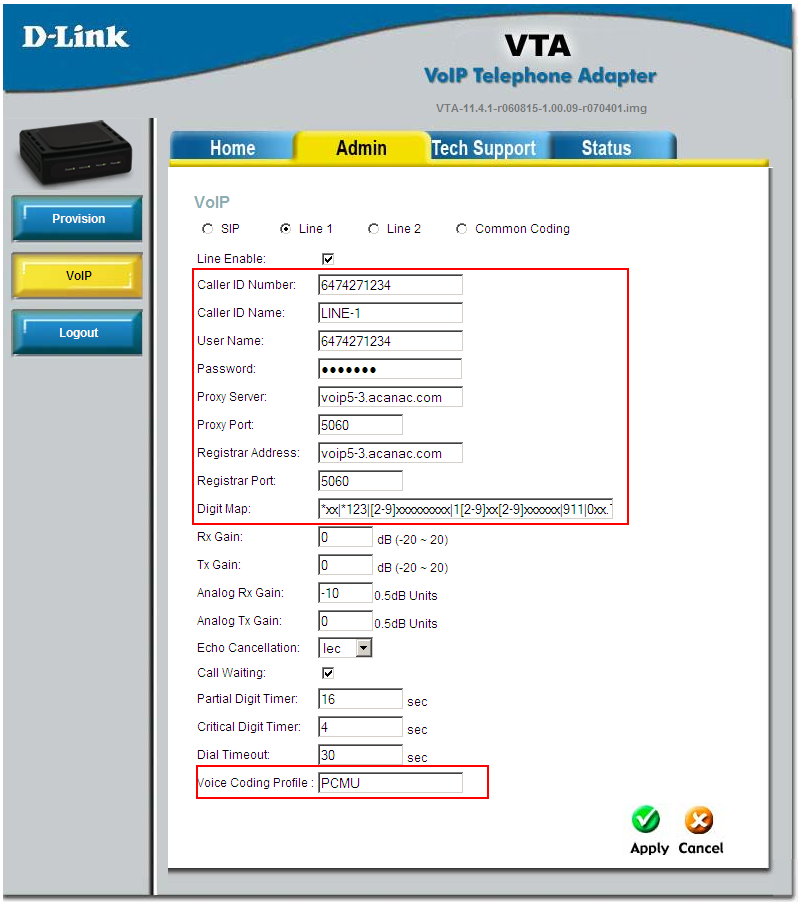
Enter the following settings:
- Line Enable: yes
- Caller ID Number: enter your Acanac phone number
- Caller ID Name: enter your name here
- User Name: enter your Acanac phone number
- Password: the SIP password, as found in the e-mail from Acanac
- Proxy Server: the SIP server (proxy) as found in the e-mail from Acanac
- Proxy Port: 5060
- Registrar Address: same as the Proxy Server
- Registrar Port: 5060
- Dial Plan: copy and paste the following string:
*xx|*123|[2-9]xxxxxxxxx|1[2-9]xx[2-9]xxxxxx|911|0xx.T
- Voice Coding Profile (optional): the default value PCMU is for using the g711 codec. If your VoIP provider advises you to use the g729 codec, enter G729 in this field.
Click Apply to save the settings.
If you have issues dialing DTMF tones (such as dialing an extension after the call is connected, or using calling cards), go to the Common Coding option and try different values for Digit Relay Mode (between 1 and 4)

To factory reset the adapter
To restore the device to factory defaults, go to Tech Support (at the top) and then System (on the left). Check the boxes that you desire (Provisioned Parameters is for VoIP settings and Non-Provisioned Parameters is for router settings
