The setup instructions are the same for all of these websites, all you have to do is make sure to use the correct domain name where your account was created when you enter the SIP proxy.
Plug in the adapter's power, the WAN port to your router or modem, the LAN port to your computer and the phone into the Phone 1 port. Open a web browser (Internet Explorer, Firefox, etc) and enter the IP address 192.168.100.1 in the address field (if that doesn't work, try 192.168.101.1).
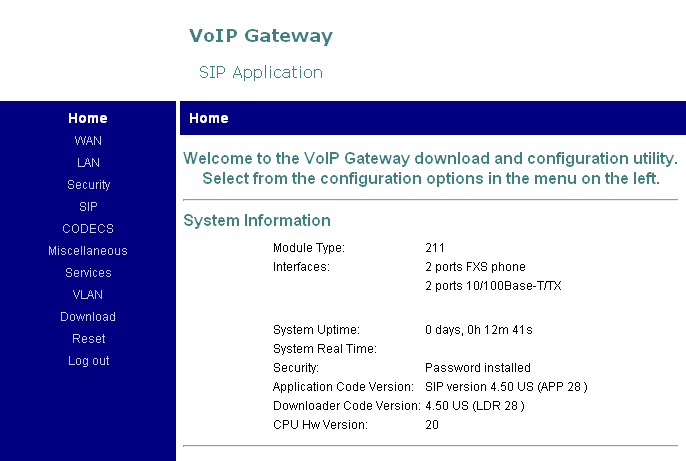
You will be prompter for a password. Enter admin, of if the adapter was factory reset, use ~~}ps. You will be directed to the main status page.
Click the SIP menu on the left.
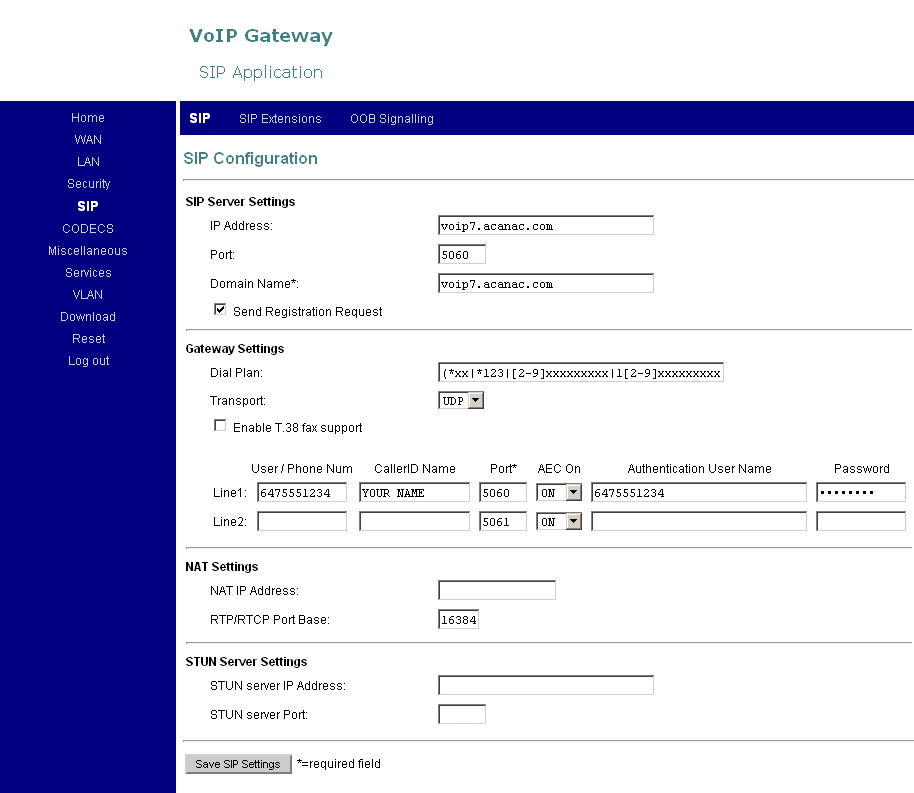
Enter the following settings:
- IP address: sip.betamaxdomain.com (replace betamaxdomain.com with the correct domain where you made your account - for example, for voipstunt.com, enter sip.voipstunt.com)
- Port: 5060
- Domain name: same as the IP address field
Under Line1:
- Phone number: this is the username that you created on one of the Betamax websites and that you use for the softphone
- CallerID Name: you can enter your name here
- User Name: same as Phone number
- Password: the password you set for your account
- Dial Plan: copy/paste the following string
(*xx|p([2-9]xxxxxxxxx)001|p(1[2-9]xxxxxxxxx)00|00xx.)
Click Save SIP Settings at the bottom.
Note: Normally, Betamax requires the numbers to be dialed as 00+Country code+Number (this is the international dialing format from Europe). With the dial plan as above, all overseas calls will have to be dialed in that format. Also, you will be able to dial North American numbers as Area code+7 digits or 1+Area code+7 digits.
Now go to CODECS link on the left menu.
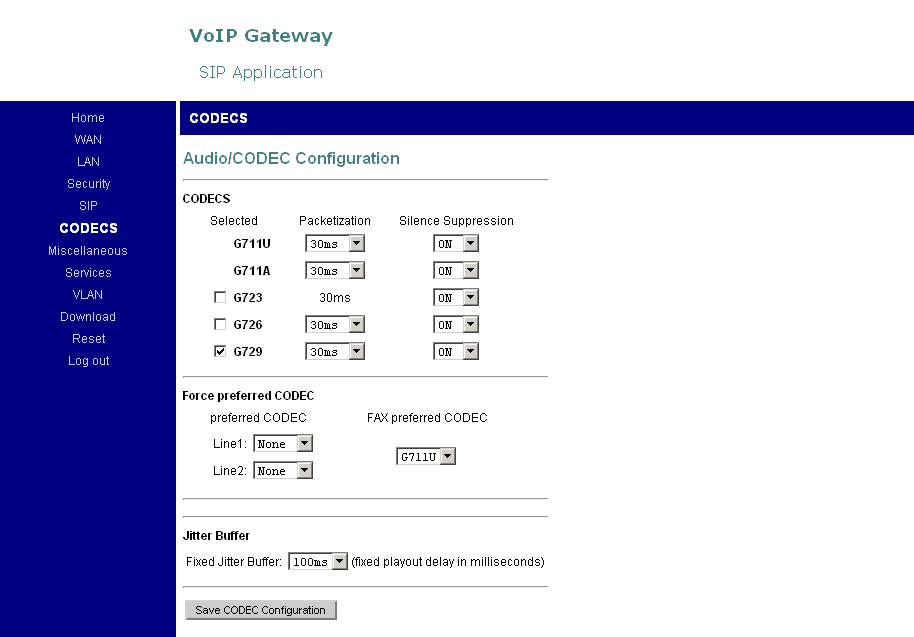
Enable the G729 codec then click Save CODEC Configuration at the bottom.
Now reboot the adapter. Wait 1-2 minutes after which you should have dial tone.
Note: if you want to factory reset the adapter follow this procedure:
- pick up the phone and dial ##333-2858. You should hear a click or a voice saying DOT (it may take up to 30 seconds until you hear that, you can watch the lights in the meantime and wait until the Mgmt LED goes off).
- wait a few seconds, then from a computer connected to the LAN port, open the adapter's configuration page at 192.168.100.1 and log in with the password ~~}ps.
- click the WAN menu on the left then AutoConfiguration at the top.
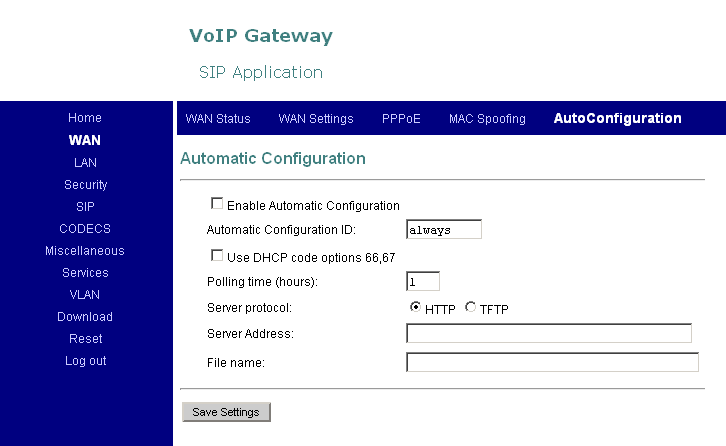
Clear the check box Enable Automatic Configuration and the fields Server Address and File name then click Save Settings.
Now click the Security menu on the left and set your own password for the adapter's configuration page.
A complete admin and user manual for the AC-211 can be downloaded from here.
Other useful phone commands that can be dialed from the phone:
##3332858 (D,E,F,A,U,L,T) - reset to factory defaults
##3427937 (D,H,C,P,Y,E,S) - set the WAN interface to DHCP
##342766 (D,H,C,P,N,O) - set fixed WAN IP 10.1.0.54 Mask 255.255.0.0. Once the mode is set, (a) you will hear “DOT” announced over the headset; (b) the Management LED on the front panel will glow a steady green for about 3 seconds; (c) the unit will boot with the required IP setting.
##472337 (I,P,A,D,D,R) - to hear the current LAN IP address announced over the headset
##47926 (I,P,W,A,N) - to hear the current WAN IP address announced over the headset